Blog
Upload a Logo for Custom Shirts with Confidence

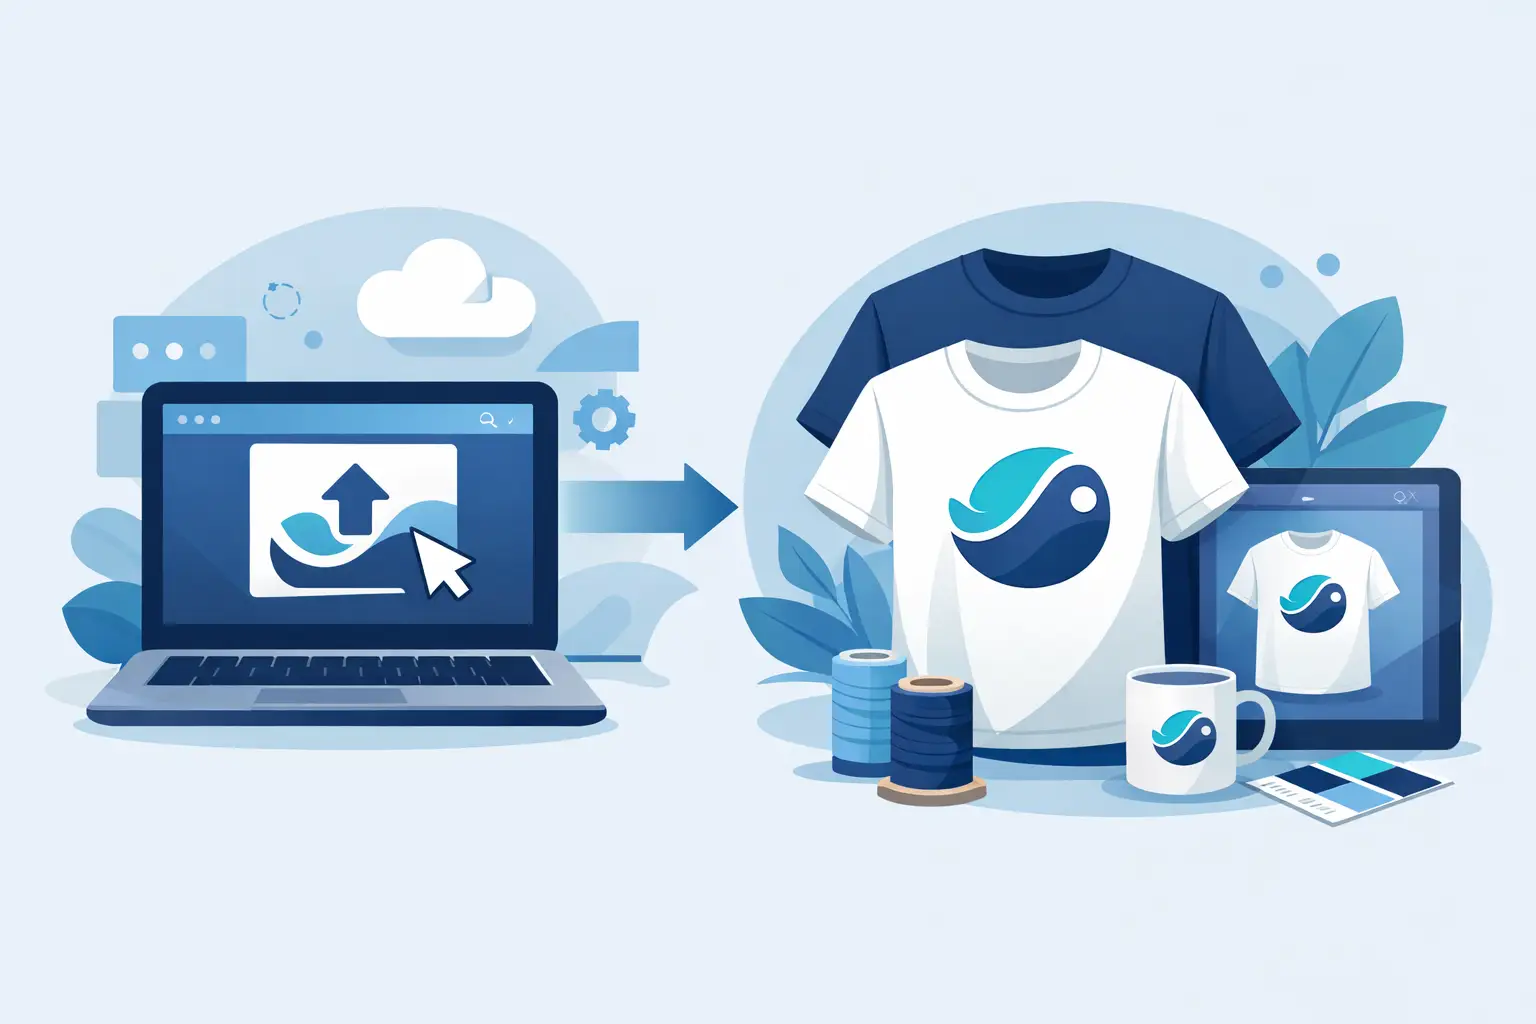
A great shirt order often starts with one small step: choosing the right file. When you upload a logo for custom shirts, you are giving your printer the artwork that will represent your business, team, school, event, or family. A clear upload helps the finished design look intentional, readable, and ready to wear.
You do not need to be a graphic designer to get started. You simply need to send the best version of your logo available and share a few practical details about your project. From embroidered work polos to full-color event tees, the right preparation makes it easier to bring your idea to life.
What to Upload for Custom Shirts
Start with the original version of your logo whenever possible. This may be a file from the person or company that created your branding, a file used on your website, or a logo package saved after your business was established. Avoid taking a screenshot from social media or copying a logo from a web page if you have a better option. Those images can appear sharp on a phone but may be too small or compressed for apparel decoration.
The most helpful file types are vector files, such as AI, EPS, SVG, or PDF files that contain editable artwork. Vector files can usually be resized without becoming blurry, which is especially useful when a logo needs to appear on several shirt sizes or in more than one location.
High-resolution PNG, JPG, or TIFF files can also work well, particularly for full-color printed designs. If you are sending a PNG, a transparent background is helpful. It allows the design to sit cleanly on the garment without a visible box behind it. A JPG may be fine for some projects, but it typically has a solid background and can lose detail when enlarged.
If all you have is a photo of a sign, an old shirt, a business card, or a hand-drawn idea, send it anyway. It can give the production team a useful starting point. Just know that a lower-quality image may need artwork cleanup or may have limitations depending on the size and decoration method you choose.
A Quick Check Before You Upload a Logo for Custom Shirts
Open the file before submitting it and look at it closely. Are the letters easy to read? Do lines look smooth rather than jagged? Can you see tiny details, such as a phone number, tagline, or small icon? What looks clear on a computer screen may become difficult to reproduce when reduced to a left-chest logo or hat-sized design.
Think about where the logo will go. A large back print has room for more detail than a small front placement. An embroidered polo logo needs simple, readable shapes at a smaller scale, while a full-color shirt graphic may allow more shading, texture, and fine visual detail. The same artwork can sometimes be used across several products, but it may need small adjustments for each application.
Color matters, too. If your organization has established brand colors, share them with your order details. A logo file may include color information, but a note such as “use our navy and gold version” helps prevent assumptions. If you do not have exact colors, a clear reference image and a description of the look you want are still useful.
Include the Details That Give Your Project Direction
Your logo is only part of the story. A few notes with your upload help turn artwork into an order that fits your purpose. Let the team know whether the shirts are for staff uniforms, a school fundraiser, a tournament, a family reunion, a church group, or a special event. The intended use can shape garment recommendations, logo placement, and the best decoration approach.
It also helps to share the shirt style or general look you have in mind. You may already know that you want black crewneck tees with a white logo on the left chest, or you may only know that your landscaping crew needs professional shirts that coordinate with their trucks. Both are good places to begin.
For a custom quote, include an estimated quantity, needed sizes if available, garment colors, and preferred logo locations. Common placement choices include left chest, full front, center chest, sleeve, and upper back. If you are ordering for a team or organization, mention whether individual names, numbers, roles, or departments need to be added.
A short message can be enough: “We need shirts for 18 volunteers. Our logo should go on the front left chest, and we would like a larger event name on the back.” That context gives the project a clear direction without requiring you to know production terms.
Choose a Decoration Method That Fits the Artwork
Different logos call for different decoration methods. The best choice depends on the design, garment, order quantity, and the finished look you want.
Embroidery is a strong fit for polos, hats, jackets, uniforms, and logo apparel where a stitched appearance suits the brand. Clean logos with readable lettering and defined shapes tend to translate well. Very small text, complex gradients, and tiny details may need to be simplified for a polished embroidered result.
Screen printing is often a practical option for larger orders with bold artwork and consistent designs. It works especially well for business shirts, school spirit wear, team apparel, and event shirts. Designs with a limited number of solid colors are often a natural match, though the final recommendation depends on your artwork and order needs.
DTF printing can be a helpful choice for detailed, full-color graphics. It is well suited to artwork with multiple colors and visual elements that would be difficult to recreate with a simpler decoration process. If your logo includes an illustration, colorful mascot-style graphic, or layered design, this may be worth discussing.
The goal is not to force every logo into one method. It is to choose the process that best supports your design and the way your shirts will be used. A production partner can review the file, explain any limitations, and help you make an informed choice before work begins.
Common Upload Problems and Simple Fixes
The most common issue is a logo that is too small. If the image looks blurry when you zoom in, it may not be large enough for a full-front print. Send the original file or ask the person who manages your branding for a higher-resolution version.
Another issue is a logo with a background that was not meant to print. A white rectangle behind a design may be invisible on a white web page but noticeable on a dark shirt. A transparent PNG or original vector file can often solve that problem.
Sometimes customers send several versions of a logo without identifying the preferred one. Naming the file clearly or adding a quick note removes guesswork. For example, specify whether you want the horizontal logo, the icon-only version, or the version with the full business name.
Finally, make sure you have permission to use the artwork you submit. This is especially relevant for organization logos, school graphics, event branding, and designs created by someone else. Using approved artwork protects your project and helps keep the order moving forward.
Let the Artwork Review Work for You
Submitting a logo is not a test. It is the beginning of a conversation about what will look best on your chosen products. Busy Bee Stitches can help review your artwork, ask the right questions, and guide your project from a simple upload to coordinated custom apparel.
Bring the best logo file you have, share the purpose behind the shirts, and be clear about the look you want. A little information at the start can turn a good idea into apparel your people will be proud to wear.
Latest Post