Blog
Artwork File Preparation for Better Custom Orders

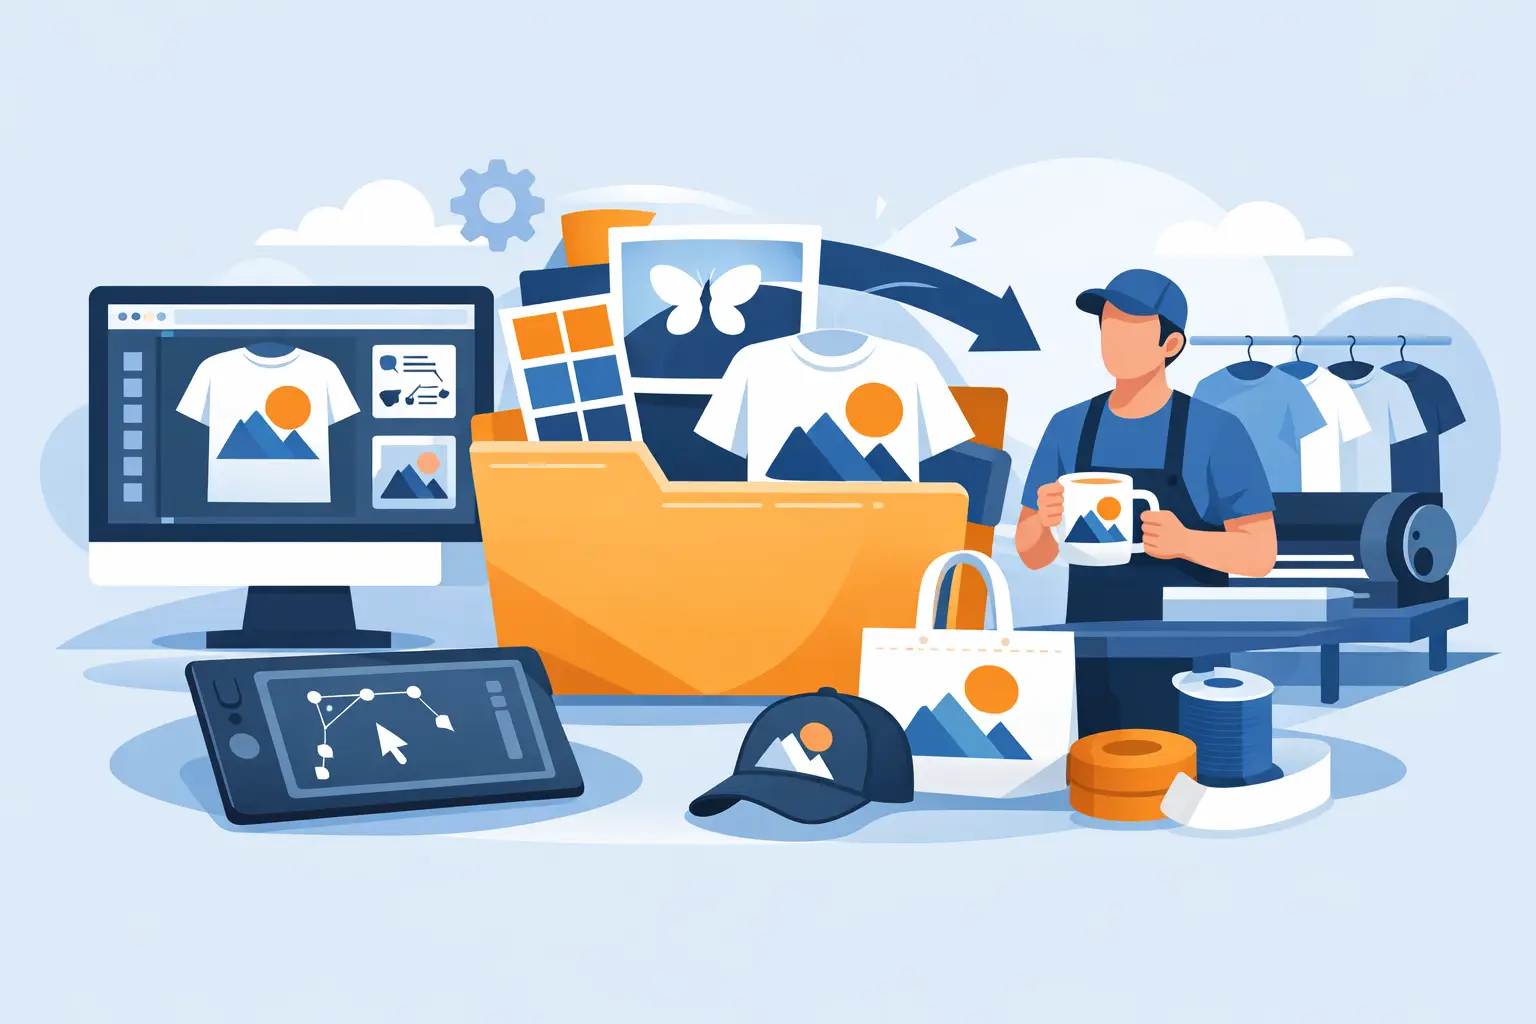
A logo that looks sharp on a website can become a blurry print, a tiny stitch detail, or an unreadable engraved mark if the original file is not ready for production. That is why artwork file preparation matters before your custom shirts, uniforms, team gear, gifts, or branded merchandise move into production.
The good news is that you do not need to be a graphic designer to get started. Send the best version of what you have, share your vision, and let the production method guide the final setup. A clear file and a few helpful details can save time, prevent surprises, and help your finished pieces represent your business, event, family, or team with confidence.
What Artwork File Preparation Means
Artwork file preparation is the process of making a logo, design, photo, or message ready for the decoration method your project needs. That may mean cleaning up a graphic, confirming colors, choosing a readable font, adjusting the design size, or converting artwork into a format that works well for printing, embroidery, or engraving.
It is not a one-size-fits-all step. A full-color event graphic for a T-shirt needs different preparation than a left-chest embroidered business logo. A detailed family photo for a personalized gift has different needs than a simple engraved name on a keepsake. The goal is always the same: create a finished product that looks intentional, clear, and true to your idea.
Start With the Best File You Have
If you have an original logo file from the person or company that created your design, send that first. Files such as AI, EPS, SVG, PDF, or a high-resolution PNG are often useful because they preserve clean edges, color, and detail. A vector file, such as SVG, AI, or EPS, is especially helpful for logos because it can be resized without becoming fuzzy.
Do not worry if you do not have those formats. A clear PNG, JPG, or even a photo of existing artwork can still give the production team a starting point. Just avoid tiny images copied from social media, screenshots that have been enlarged, or images that already look pixelated on your phone or computer. Enlarging a low-quality image does not create missing detail – it simply makes the blur bigger.
When you are unsure, send the file you have rather than guessing. Include any alternate versions, too. A logo with a light background may need a different version for a dark shirt, jacket, sign, or mug.
A quick check before you upload
Open your file and look closely at the smallest text, thin lines, and fine details. If the words are difficult to read at the size you plan to use, they may not reproduce clearly on the finished item. This is particularly common with designs that include a long slogan, a web address, multiple tiny icons, or fine outlines.
It also helps to view the file at actual size. A design that looks great across a computer screen may be only three inches wide on a polo or cap. For a small placement, a simpler version of your logo may be the better choice.
Match the Artwork to the Decoration Method
The way a design is applied affects what will look best. Planning for the product and decoration method early helps prevent a design that is technically possible but visually too busy.
For screen printing and DTF printing
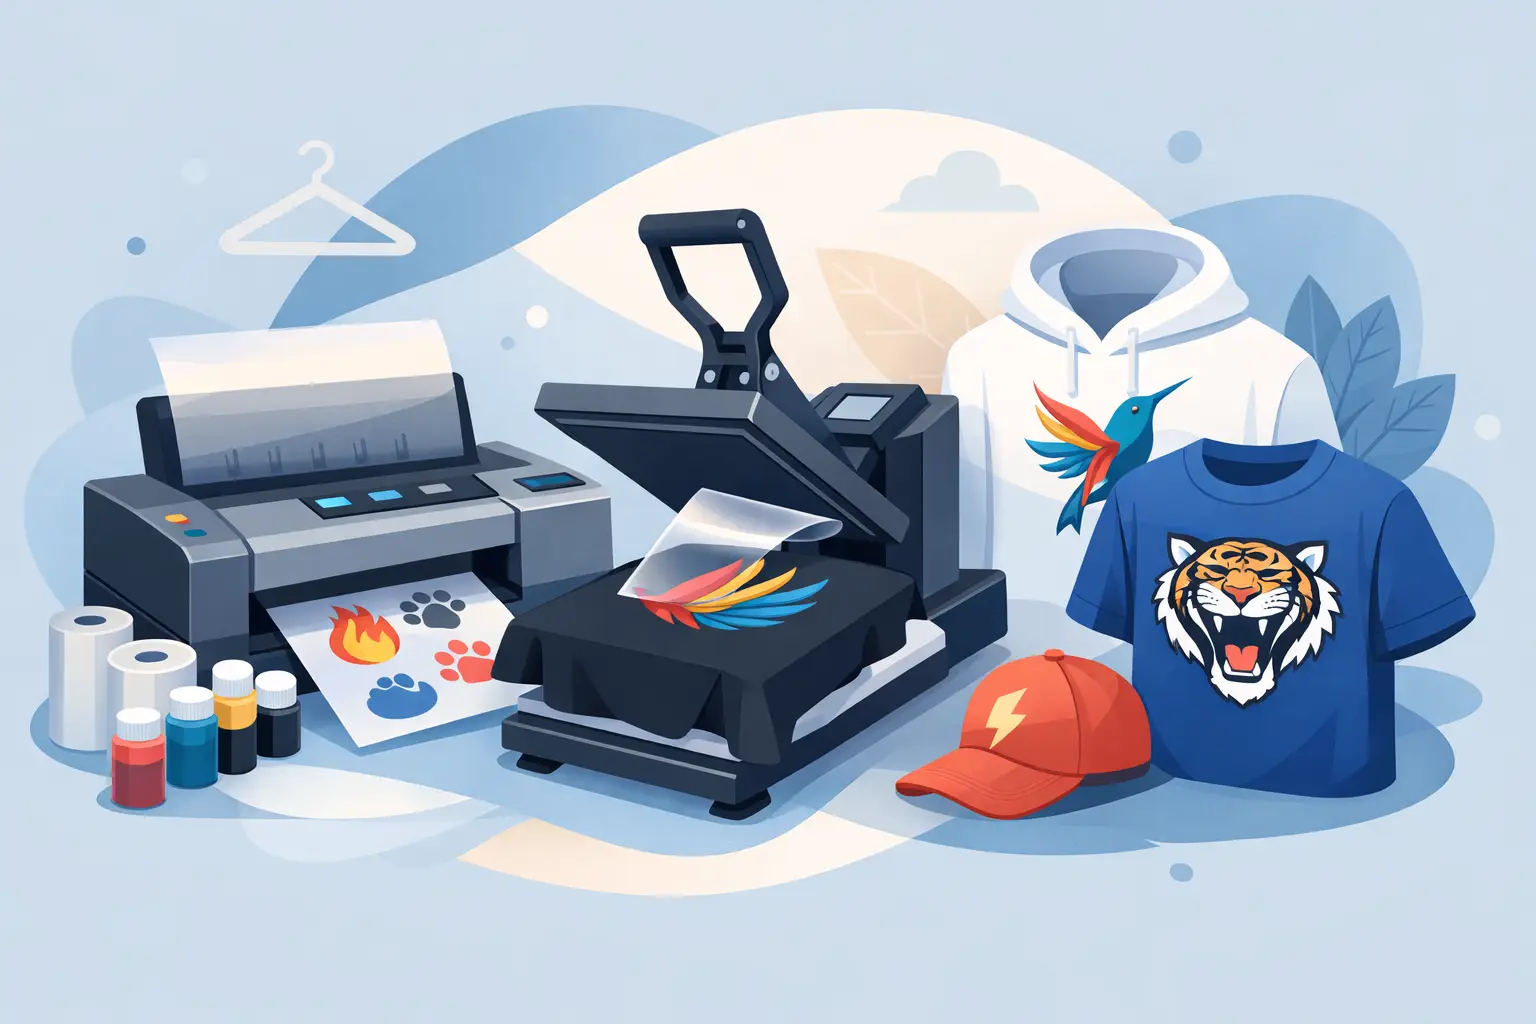
Printed apparel is a strong option for full-color artwork, event shirts, spirit wear, detailed graphics, and larger designs. Clean, high-resolution artwork helps retain smoother edges and clearer details. If your design includes a photograph, make sure it is bright, in focus, and large enough to use at the intended print size.
Color choices deserve attention here. A design created for a white background may need an adjustment for black, navy, red, or other garment colors. White lettering, for example, may disappear on a white shirt without an outline or a different design arrangement. Share the garment color you have in mind so the artwork can be reviewed in context.
For embroidery
Embroidery gives polos, hats, jackets, workwear, and uniform pieces a polished branded look. Because embroidery is built from stitches rather than ink, very small lettering, narrow gaps, color gradients, and extremely detailed illustrations may need to be simplified.
A clean logo with strong shapes and readable lettering usually translates well. If your current logo has delicate lines or a complex emblem, the best approach may be a simplified embroidery-friendly version while keeping the character of your brand intact. This is not about changing your identity. It is about making sure people can recognize it from across a room, on a cap, or from the front of a uniform shirt.
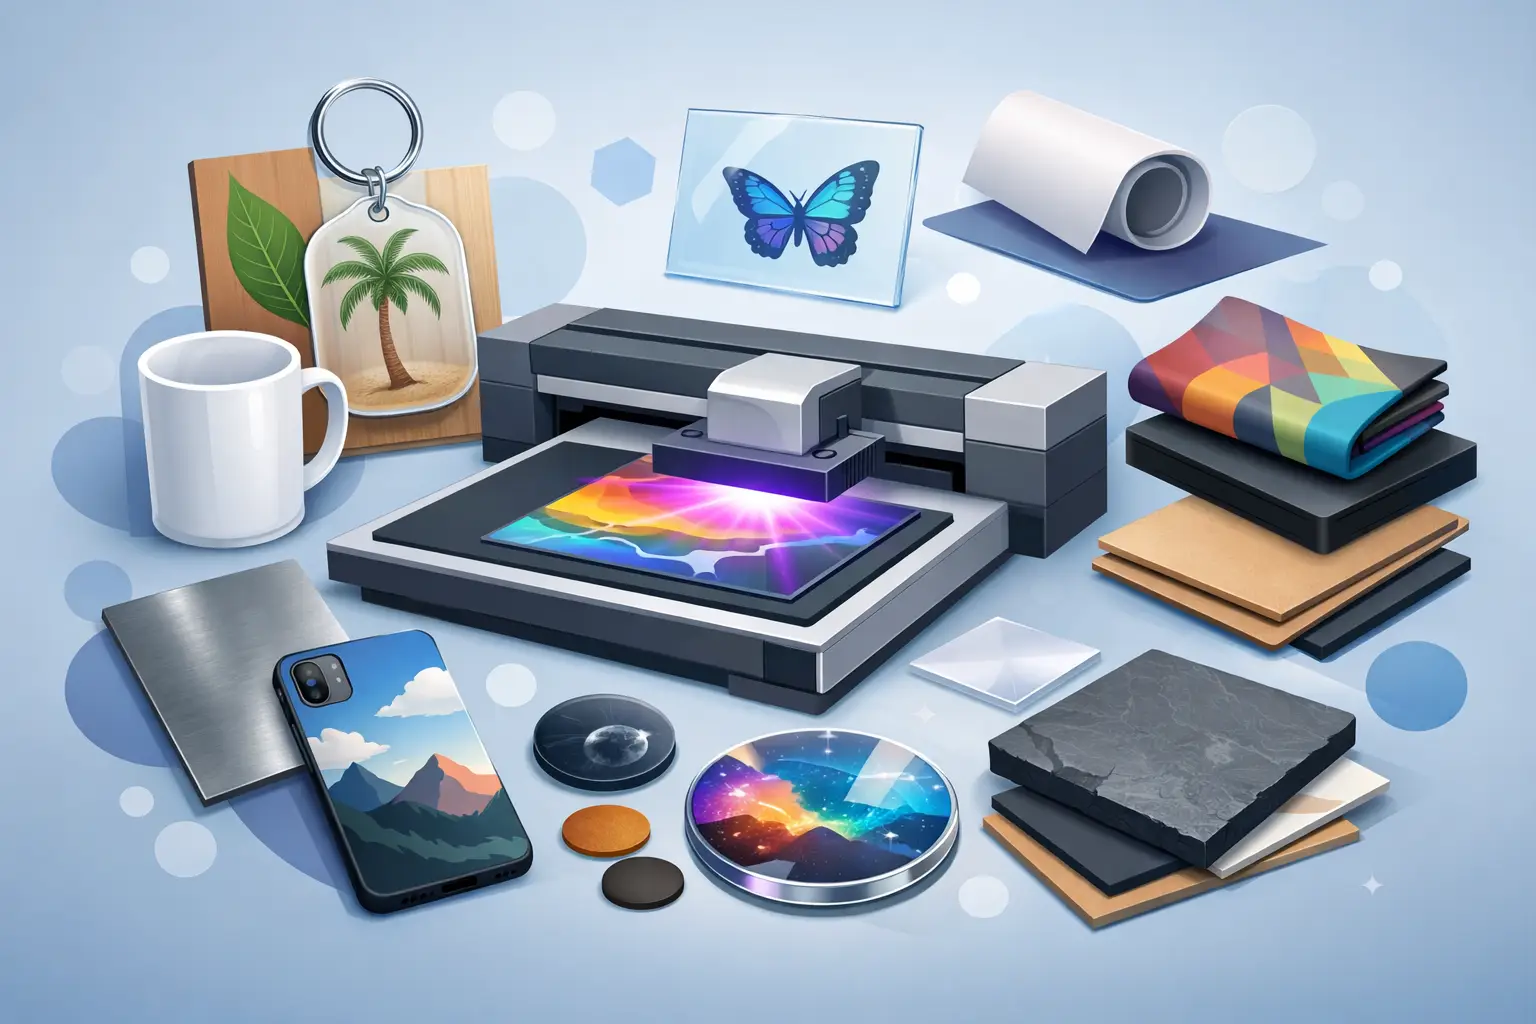
For UV printing and laser engraving
Hard goods, gifts, signs, plaques, and keepsakes often call for artwork with crisp contrast and simple organization. For laser engraving, artwork that relies on strong black-and-white shapes is generally easier to interpret than a design made of soft shadows or many subtle colors. A detailed photo may need special review depending on the item and desired look.
For UV printing, full-color graphics can open up more creative options, but clarity still matters. Small text, low-resolution photos, and crowded layouts can become difficult to read on a compact item. Consider what a recipient will notice first: a name, date, logo, image, or short message. Give that key element room to stand out.
Include the Details That Save Back-and-Forth
Your artwork is only part of the production picture. A short note with your upload can make the process much easier, especially for business orders, school groups, and event merchandise.
Let the team know what item you want decorated, the approximate quantity, where you would like the design placed, and whether there are colors that must stay consistent. For example, a left-chest logo and a large back design need different sizing considerations. A youth team order may need a different balance than adult work jackets. If you are replacing existing branded apparel, a photo of the previous item can be helpful for showing the general placement and scale you prefer.
For personalized pieces, double-check every name, date, title, and spelling before approval. Personalized details make a gift meaningful, and a quick review helps ensure the final wording is exactly what you intended.
Keep Your Design Clear, Not Crowded
Many great ideas start with a lot of information: an organization name, anniversary date, sponsor list, mascot, event theme, location, and a message. The challenge is deciding what must be seen first.
Think of your design as something people will view from a few feet away, not as a flyer they will read in their hands. The main logo, event name, or message should lead. Supporting details can be smaller, but they still need enough space to remain legible. If every element competes for attention, the finished design can lose impact.
A good rule of thumb is to choose one focal point and build around it. For a company shirt, that may be the logo. For a reunion shirt, it may be the family name and year. For a commemorative gift, it may be a photo or a meaningful line of text. Simple does not mean plain – it means the most important part gets noticed.
Ask for Help Before You Commit
You do not need perfect production-ready artwork before requesting a quote or starting a custom order. Busy Bee Stitches can help review what you have, talk through your product goals, and point out details worth adjusting before production.
That conversation is especially valuable when you are ordering for a group. A small change to the artwork can make a big difference across staff uniforms, team apparel, fundraiser shirts, event merchandise, or coordinated gifts. It can also help you choose an approach that suits the design rather than forcing the design into the wrong format.
Bring your logo, sketch, inspiration image, or idea to the process with as much context as you can. Clear communication and thoughtful artwork file preparation give your project the best possible starting point – and leave more room for the finished product to feel like it was made just for your people.
Latest Post