Blog
How to Submit Printable Artwork for Custom Orders


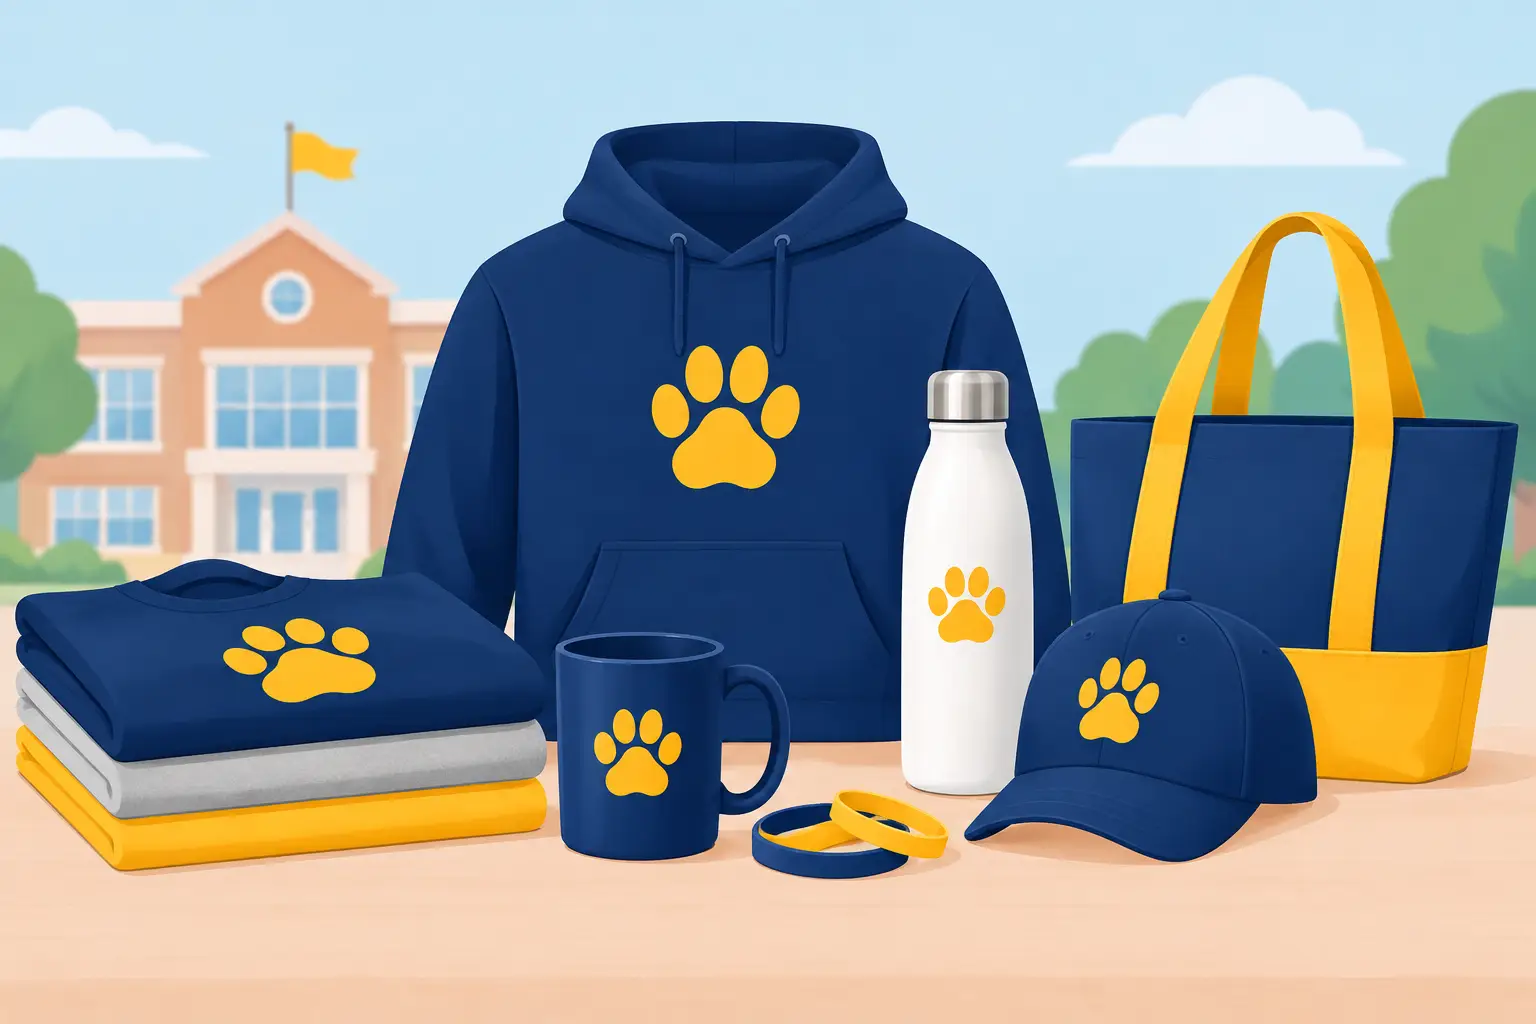
A school booster club needs spirit shirts before a big game. A growing business needs staff polos that match its logo. A family has a favorite photo for a keepsake mug. In each case, knowing how to submit printable artwork can make the custom-order process easier from the very first conversation.
You do not need to be a graphic designer to send artwork for a custom product. A clear file, a few useful details, and an honest note about what you have are usually enough to get the process moving. The goal is not perfection on your end. It is giving your production partner the best starting point to bring your idea to life.
What Counts as Printable Artwork?
Printable artwork is the image, design, logo, text layout, or photo you want placed on a product. It may be a finished design created in a design program, a business logo, an event graphic, a hand-drawn concept, or even an inspiration image that helps explain your vision.
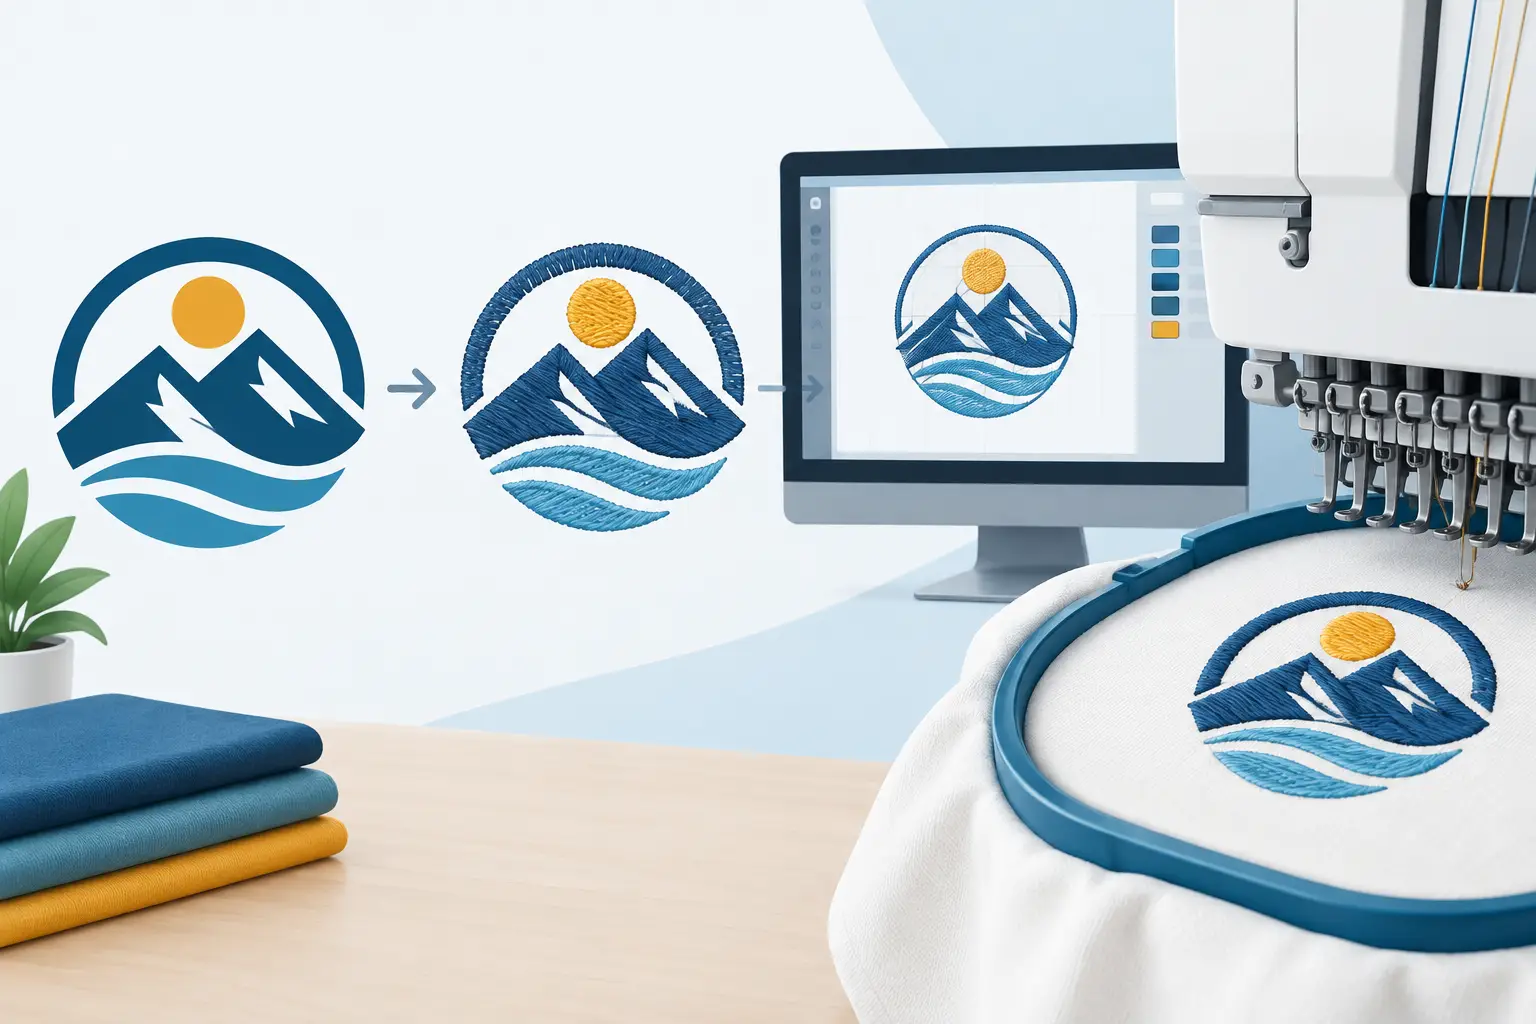
The best file depends on the project. A full-color shirt graphic may need different preparation than a single-color team design, a photo gift, or artwork for a hard good. If you are ordering embroidered apparel, the same logo can still be helpful, but it will need to be prepared for embroidery rather than printed directly. That is one reason it helps to share your intended product and decoration method when you submit your file.
A professional-looking result starts with artwork that is clear enough to evaluate. That does not mean you need specialized software or production terminology. It simply means the image should be large, readable, and as close to the original design as possible.
Start With the Best Version You Have
Before sending artwork, take a moment to find the original file. It is often better than a logo copied from a website, pulled from a social media profile, or photographed from a business card. Original files preserve sharper edges, cleaner text, and more accurate colors.
For logos and finished designs, common file types include PDF, SVG, AI, EPS, PNG, and high-resolution JPG files. Vector files such as SVG, AI, EPS, and some PDFs are especially useful for logos because they can be scaled without becoming blurry. A PNG can also work well when it has a transparent background and enough resolution for the intended print size.
A JPG is often fine for photos and some full-color artwork, but it may not be the right choice for every logo. If a JPG looks fuzzy when you enlarge it on your screen, it may look fuzzy in print as well. Sending the file anyway is still worthwhile. Your production partner can review it and let you know whether a cleaner version would help.
Avoid taking a screenshot of a logo when an original file is available. Screenshots can reduce quality, crop important details, or leave an unwanted background around the image. If a screenshot is truly all you have, send it along with any information about where the original logo may be found.
How to Submit Printable Artwork With Useful Details
A file tells part of the story. Your notes tell the rest. When you submit printable artwork, include a short description of where and how you want the design used. This avoids assumptions and makes a quote or proof more accurate.
For example, a note such as, “Use this logo on the left chest of navy staff shirts, with names on the right chest,” is far more useful than sending a logo with no context. If you want an event design on the front and sponsor names on the back, say so. If the art should be printed large, small, centered, or placed on a sleeve, include that too.
It also helps to mention whether colors need to match existing uniforms, signage, or brand materials. If exact color matching matters, share any available color references or describe the item you are matching. Screen colors can vary, so a visual reference and a conversation are often more useful than trying to guess from a phone display.
For most custom projects, include these details with your artwork:
- The product you want, such as shirts, hats, mugs, signs, gifts, or another item
- The quantity, sizes, and colors of the items when known
- The intended placement, including front, back, sleeve, left chest, or another location
- The approximate size of the design, especially if you have a preference
- Any names, numbers, dates, or personalization that changes from item to item
- Your event date or preferred timeframe, if there is one
If you are still deciding on the product, that is okay. Share the artwork and explain the purpose of the order. A design for a family reunion may call for a different approach than a logo for work uniforms or a fundraiser shirt.
Check Small Details Before You Send
Most artwork issues are simple details caught too late: a missing letter in a phone number, an outdated website, a wrong graduation year, or a name spelled differently on the order form than in the design. Give the artwork one careful review before submitting it.
Pay special attention to small text. What looks readable on a large computer monitor may be difficult to read once it is reduced for a pocket print, a hat, or a small engraved item. Thin lines and tightly packed details can also change how a design translates to a finished product. This does not mean the design cannot work. It means the production team may recommend a small adjustment to protect clarity.
Photos deserve an extra look as well. Choose the original image when possible, rather than one shared through several messages or downloaded from social media. A well-lit, in-focus photo generally gives a better starting point than a dark, blurry, or heavily filtered one.
If your artwork includes a licensed logo, character, image, or design, make sure you have permission to use it. For business logos, use the version your organization is approved to reproduce. This keeps your order focused on artwork you are authorized to customize.
If You Only Have an Idea, Submit That
Many customers do not begin with a print-ready file. They begin with a phrase, a rough sketch, a photo of a shirt style they like, school colors, or a list of names for a special gift. Those are useful starting points too.
Be clear about what is inspiration and what must appear in the final design. For instance, you might say, “We like the general layout of this sample, but we need our own team name, colors, and mascot.” That gives direction without asking for an exact copy of someone else’s artwork.
A hand-drawn sketch can be especially helpful for explaining placement. Draw a simple shirt outline, mark the front or back, and note where the logo, text, or names should go. It does not have to be polished. It just needs to communicate your idea.
Review the Proof Like It Is the Final Product
Once the artwork and order details are reviewed, you may receive a proof or design mockup for approval. This is your chance to slow down and check the project as a whole. Confirm spelling, dates, names, logo version, colors, placement, and the requested product details.
For group orders, choose one person to collect feedback and send consolidated changes whenever possible. A single point of contact helps prevent crossed messages, especially when a school, team, office, or event committee has several people offering input.
Do not assume a detail is understood if it is not shown or written clearly. If something looks off, ask about it before approving. A thoughtful review supports a smoother production process and helps your finished items reflect the care behind your organization, event, or gift.
A Clear File Helps Bring Your Idea to Life
The best artwork submission is not always the most technical one. It is the one that clearly communicates what you need, includes the best file available, and leaves room for helpful production guidance. Whether you are ordering one personalized keepsake or coordinating apparel for an entire crew, Busy Bee Stitches can help turn a good idea into a finished product you will be proud to share.
Send what you have, explain the occasion, and ask questions when you are unsure. A clear conversation at the beginning gives your artwork the best chance to look right where it matters most: on the products made for your people.
Latest Post